Top Tips for Night Sky Photography
Last week, thousands of keen photographers stood outside on a chilly September night, trying to take pictures of a rare supermoon lunar eclipse. For many, however, the results were… less than impressive. It turns out that taking a good picture of the moon – even when it’s at its largest – is not a simple proposition.
what I expect my pictures to look like vs what they really look like #SuperBloodMoon pic.twitter.com/EsUTEjoobm
— 9GAG (@9GAG) September 28, 2015
Whether there’s a rare astronomical event going on or not, the night sky is a wonderful and wondrous sight, and naturally photographers want to record it, so how can you make sure that your pictures are less “fuzzy blobs on a black background” and more “majesty of the universe”?
The Right Kit
Although we recently argued that you can take great pictures without expensive kit, that was really a general statement – if you specifically want to take great pictures of the night sky, then you will need the right equipment. Because they have tiny sensors and limited magnification, smartphone cameras just don’t cope well – as many people found out with the lunar eclipse.
Because the night sky is essentially darkness with tiny bits of light, a good picture often requires a longer than usual exposure, and the right ISO settings. That means you need a decent camera just to have access to those settings.
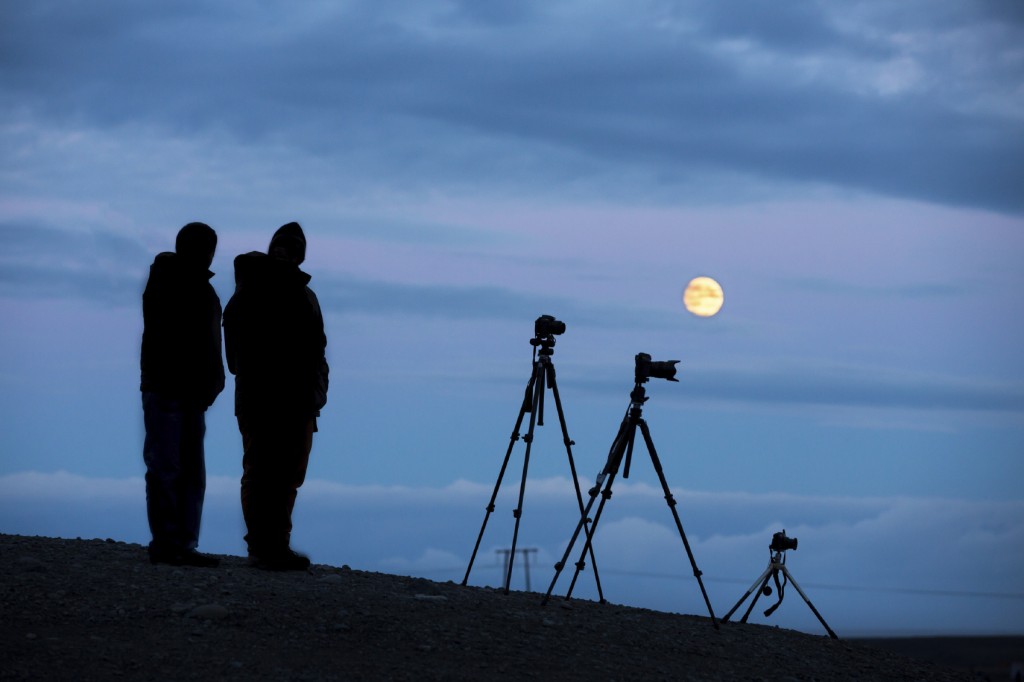
When you take a long-exposure picture, you have the added issue of camera shake, so in addition you’ll need a stable tripod, and perhaps a shutter release that will allow you to take the picture without having to actually poke the camera and make it shake.
If you want to focus in on specific things – like the moon – then you’re also going to need a good zoom lens; a focal length of 200mm or more should be suitable.
The Right Settings
The settings you need will naturally depend on the circumstances; generally speaking, you’ll want to open the aperture on your lens as far as possible, use a 20 second exposure and adjust the ISO depending on your results.

The exposure length is important; you need to have a long enough exposure to get a good contrast between the light of the stars and the darkness of the sky, but if you go over about 25 seconds you’ll start getting star trails – this can be impressive, but it’s a different kind of style!
Choose the Right Place
One of the tricky things about night photography is actually finding a clear enough sky – towns and cities put out so much light pollution that it can often be difficult to see the stars, let alone photograph them. This means you might have to travel a bit to find a dark enough spot.
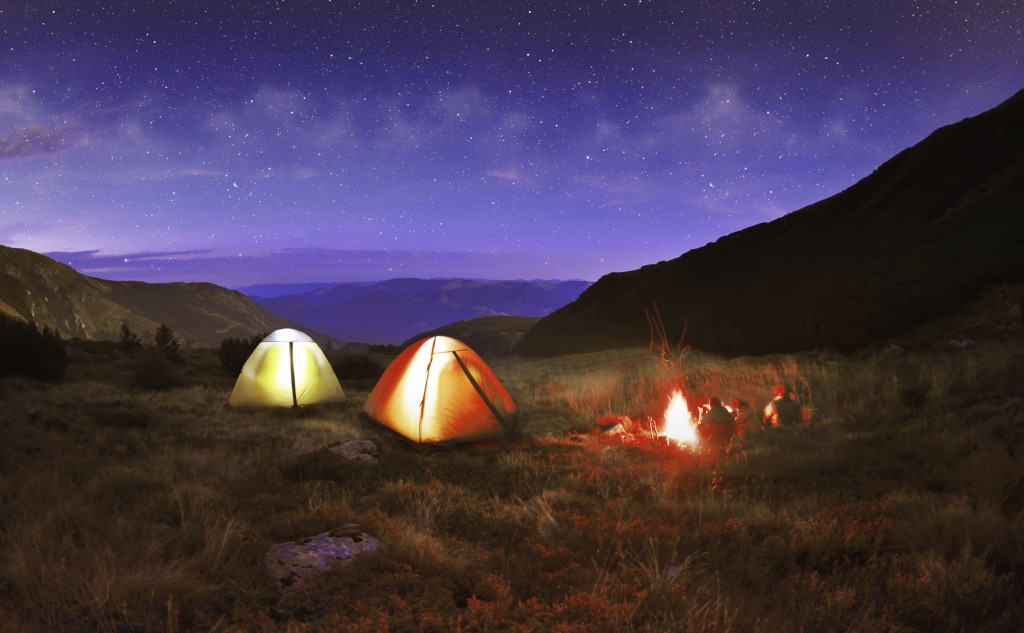
You should also look out for features that you can include in the image – a tree, hill or building to put in the foreground or use as a frame to aid in your picture’s composition. These may need to be lit separately – you can use “painting with light” techniques using a flash or torch because you’ll be using a long exposure anyway.
Finally, unless you’re actually setting out to photograph the moon, consider choosing a night when it isn’t full, or leaving it out of your frame – it can be difficult to balance the exposure of the moon with the stars around it.
If you’re keen to photograph the universe – or at least the parts of it we can see from here on Earth – but you need to upgrade to do so, we can help. As a one-stop shop for anybody who wants to sell used cameras, we can help you to unlock the value of your current camera, leaving you more to spend on your new kit. For more information, contact us today.


